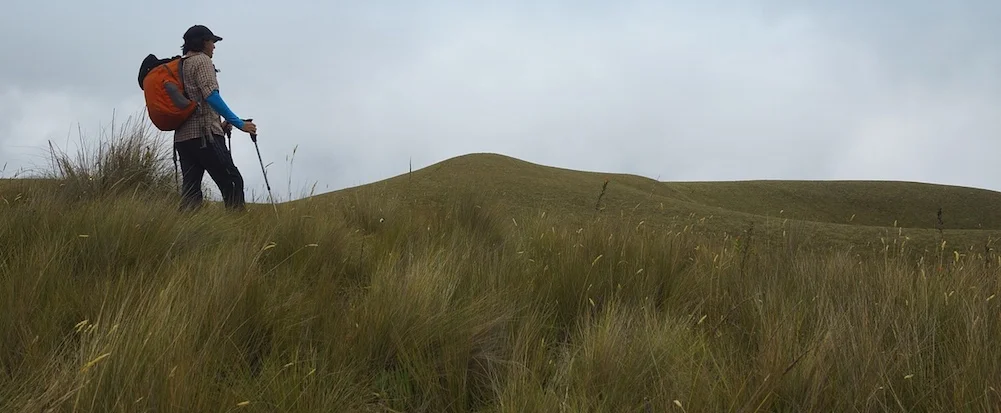
Hiking or trekking poles can add much needed support when out walking over longer distances. As much as 20% of a hiker’s body weight can be taken on poles when walking downhill. Imagine how happy your knees would be to know that!
Effectively they can add to your stamina by reducing the effort you require to cover the ground by taking some of your weight and ensuring there is less stress on your legs when going uphill and downhill.
Below are some examples of Budget, Mid-Range and Top of the Range hiking poles, click here to jump straight there.
They also add stability especially when travelling downhill, which, more often than not, is when you are most tired. For longer distance hikers they can also help to ensure the back remains straight even when carrying a large rucksack.
Getting the Most from your Hiking / trekking Poles.
Basic set up.
If you put your arms down by your side then bring your lower arm (below the elbow) to a right angle, this gives you an approximate height to which you should adjust the length of the poles.
How to hold hiking poles.
If you place your hand through the loop from low to high you will find you do not need to grip tightly as the hand / wrist loop will actually support the weight. This means the loop should be around your wrist and under your palm.
Moving on flat ground.
On flat ground, hold them in a fairly natural way, without forcing them out in front of you. Again a 90 degree angle should be about right here so they move under you and don’t reach out far in front.
Use them as extra points of support over tricky uneven terrain such as stepping on rocks to cross a stream or balancing on boulders.
Moving uphill.
When going uphill they should be shortened but again they do not need to reach out in front. Ensure they remain close enough to bear your weight as you push up with your legs. You should not be using them to pull yourself up.
Moving downhill.
The converse is true when going downhill. A longer pole that goes infront of you can help to take some of the strain off your back leg as you step down. Make sure you adapt this to the terrain and don’t be scared of really pulling them out if needed on steep ground as it is better to maintain a good posture and not bend to compensate for a short hiking pole.
You can use these principles on a side slope, for example if you are contouring why not shorten one pole to cope with the high side of the slope and lengthen the other to balance on the low side.
Terrain.
Most poles will come with differing attachments; baskets (like ski poles) for soft terrain, hard tips for mixed terrain as well as rubber ferrules for hard terrain. You may notice Nordic Walking Poles, which often come with rubber points, but these are not suitable for hiking and should not be used as hiking or trekking poles.
It is down to how the individual moves but used efficiently hiking pole scan make a really big difference. One key thing to look for is three-section poles, to ensure you can pack them down and carry them easily when not required.
BUDGET HIKING POLES
MID RANGE HIKING POLES
TOP OF THE RANGE HIKING POLES

LATEST BLOG POSTS
I quit the rat-race to live a more adventurous life. This is my journey.

